"Digitized map of Yogyakarta (INDONESIA) Special Region Using ArcView GIS 3.3"
Understanding Digitizing Maps
 Digitization can be generally defined as the process of converting analog data into digital format. Objects such as roads, houses, fields and others earlier in raster format at a high resolution satellite imagery can be converted into digital format by the digitization process.
Digitizing methods
The process of digitization is generally divided into two types:
1. Digitized using a digitizer.
In the process of digitization requires a digitizing table or digitizer.
2. Onscreen digitizing on the screen.
The most frequent onscreen digitization because it is easier to do, not memerlukantambahan other equipment, and it is easier to be corrected if an error occurs.
Steps - steps to make Digitizing Geographic Information Systems using ArcView GIS 3.3.
1. Make sure that your computer is too ArcView GIS software to install 3.
2. Next, download the file EXT32 complete with additional attributes - new attributes. Once downloaded, copy the file to the Program Files EXT32> ESRI> AV_GIS30> ArcView> EXT32.
3. Copy and Replace the file EXT32.
4. The next step is to open the application ArcView 3.3
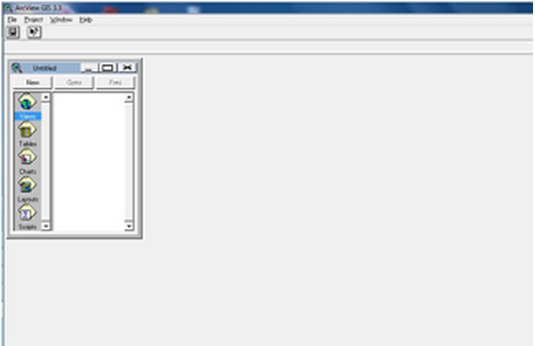
5. Enable Extension. How select File menu> Extensions. Then check the menu JPEG, Edit Tool 3.1, and a timer.


6. Create a new project, how to select the menu File> New Project
7. Then paste Jogja.jpg map. I click menu view, then on the menu bar click Add Theme. Then look at each directory - respectively. Do not forget!!! in the lower left corner to change the Data Source Type Image Data Source. Once selected then his appearance would be like below.

8. Then make a new Themes. How select the View> New Theme> Select Line.
If you've selected the overtone aka Line menu at the top left corner. Do not forget to save in advance.

9. Then create a whole line to mark the colored parts of the map using the "Open Stream Digitize Form"


10. After that detection and repair line / Line using ET "Edit Tool". How Click the ET> Themes and select Edit.
11. Then will come the bar ET polyline> Clean> Intersect. When finished click the Analyze menu. It will appear a few red dots.
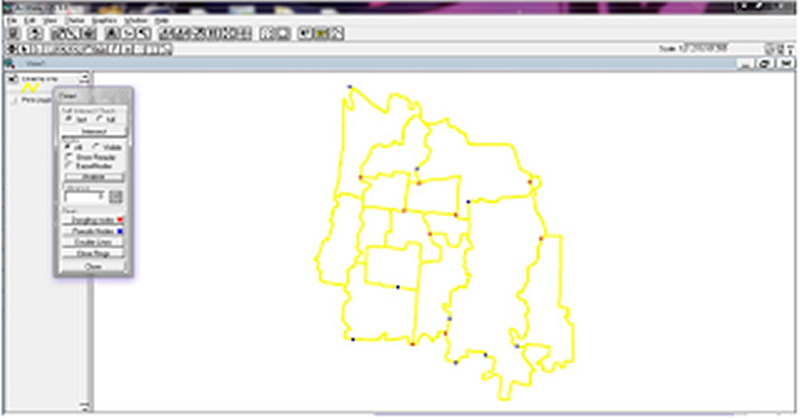
12. Then correct the line / Line are still red using the Edit Polyline Tools. Previous close bar first. Will appear ET polyline> Start Editing> Show Edit Tools.

13. Edit Using Polyline Edit Tools to analyze and perform all the red dots disappear.

14. Build Polygons
Cleans out of the bar and did Stop Editing> Yes and save.
15. Select the Build Polygons to bar ET polyline> Apply 2 times Save> OK.
16. After That would Appears Bar "Polyline To Polygon"> Select NO and the results are as shown in the following.

Tidak ada komentar:
Posting Komentar